I've said I've been going to do this and today I finally had the time and weather to get it done.
LIST OF TOOLS:
10 MM Wrench and Socket
8 MM Socket
13 MM Wrench
5/8 Inch Spark Plug Socket
Various extensions
Various Screw drivers
Prybars (optional)
Rags
Wire Brush
Carb Cleaner
And of Course 6 Platinum Spark Plugs
Intake Gasket set
Optional PCV valve
TIME: Approx. 2 Hours (at least this is how long I took with discovery and all)
DIFFICULTY: Scale of 1-10 = 6 to 7
I'm giving this a 7 as it's more involved than just turning a wrench to change a plug (Difficulty 2-3) as you have many parts to remove, lines to pull, and several wiring plugs to disconnect. I don't want to scare anyone but it is not for a novice to attempt.
First things first, pull the intake tubing, filter etc and set them aside. Then remove your 3G firewall cover (you do have a 3G firewall cover don't you?) as it will block the intake as well as the 3 lines you have to remove from the back.
There are 4 bolts (10MM) holding the throttle body on as well as 2 electrical connections. Remove them at this time. On the back of the intake, near the firewall, there is the line that leads to the brake booster. It might take some wiggling but it will come off, next to it is another vacuum line, it came off rather easy. Next is the hard one. It took a little prying to get it out but just work with it. It should have a rubber gasket as well. You will also see on the top of the intake, the vacuum line that leads to the PCV valve, remove it at this time from the intake.
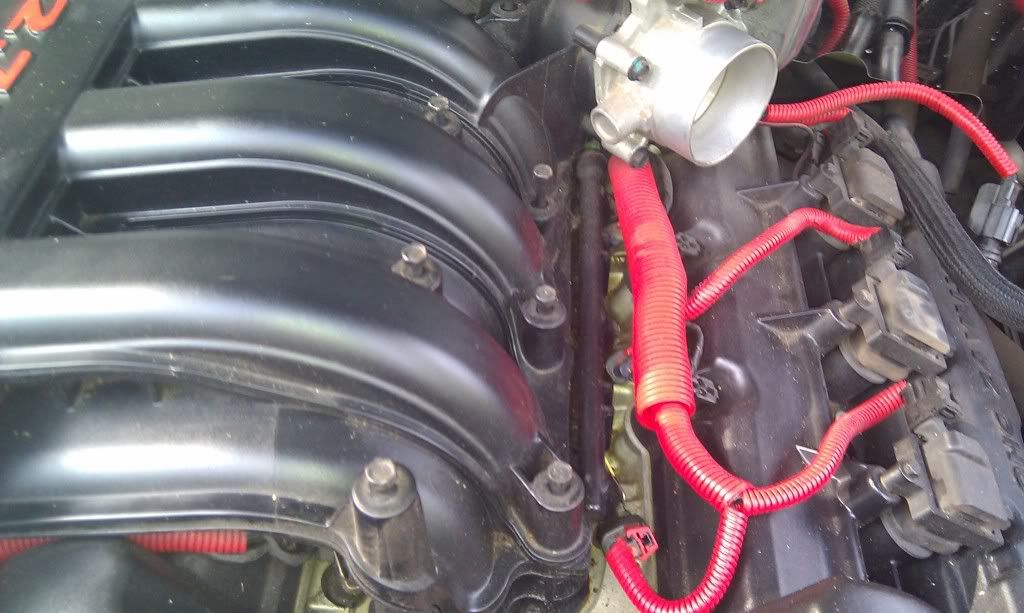
There are 7 bolts on the top of the intake (10MM):
![Image]()
You don't have to pull them all the way out, once loose you can lift them up and give them a turn with your fingers and they will hold themselves in the intake.
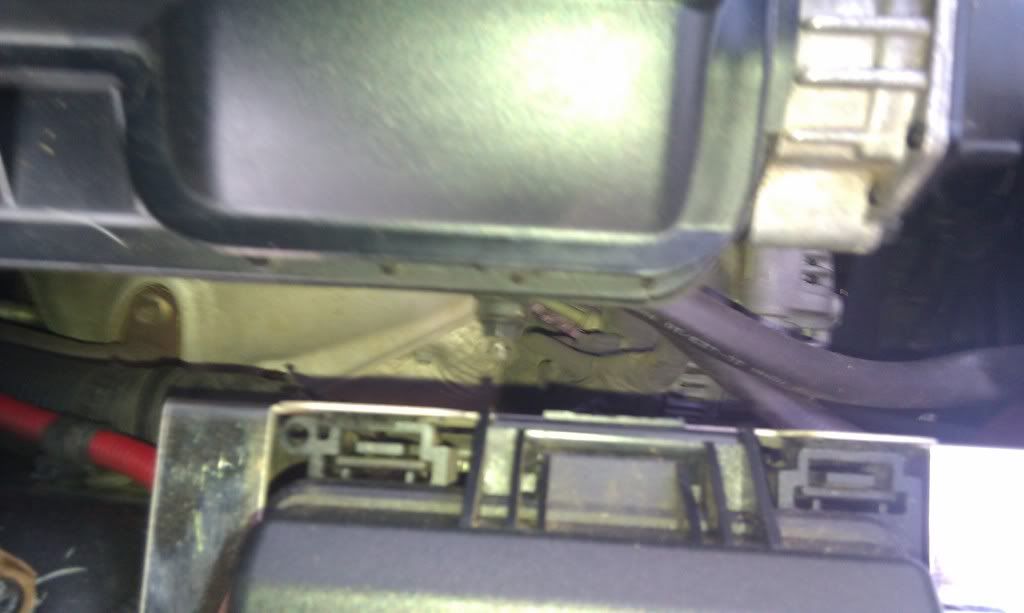
Now on to the side near the power dist. block. There are two nuts here that you need to remove from the rods that hold the side of the intake (10MM). Down at the bottom you will need to loosen the 2 bolts holding the lower part of the rod but not remove them (13MM).
![Image]()
![Image]()
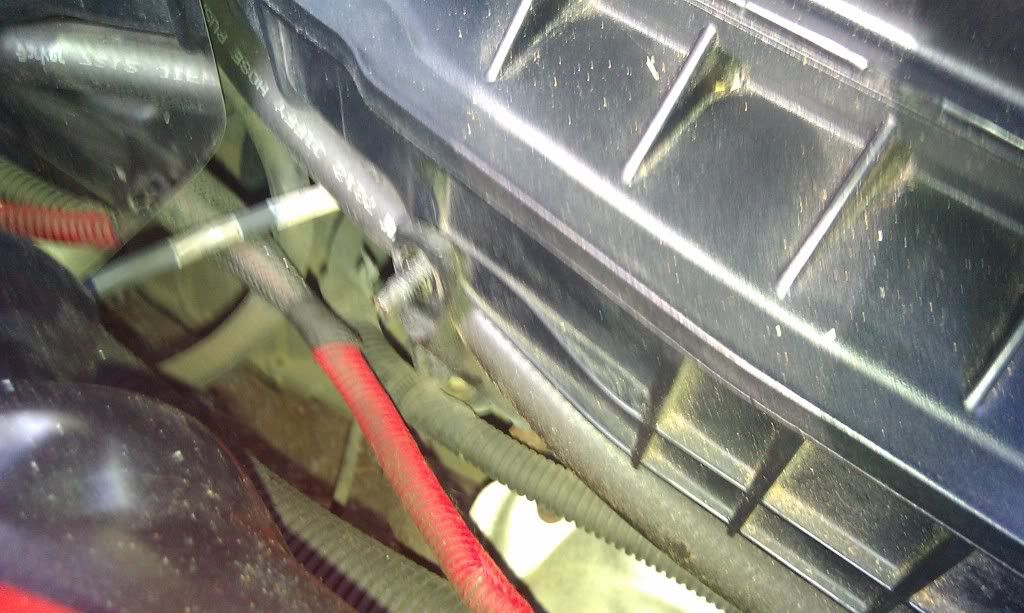
Now there is an electrical connection at the front on the passenger side that needs to be unplugged.
![Image]()
At the rear of the intake there is a clip on the transmission tube, the tube pops loose easily. Now work the intake out carefully, you will have to turn it to the left and tilt it a little to get it past the transmission tube. Take your time and be careful.
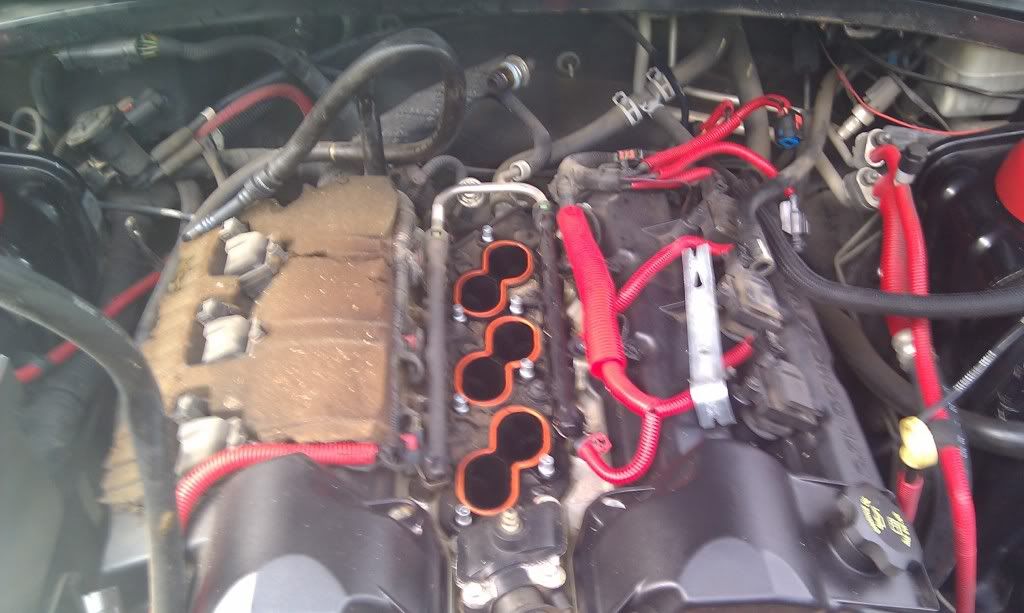
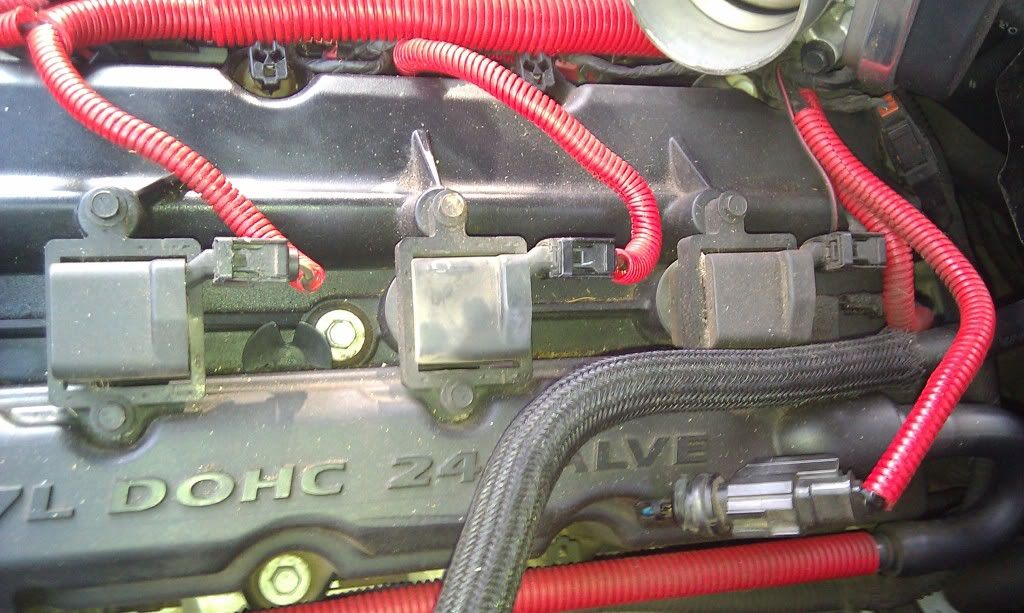
Once the intake is out set it aside and grab your rags. Place them over the intake runners in the heads that are now visible. (NOTE: where the red gaskets are visible in the middle) This will prevent anything from falling down into the cylinders, which would be VERY bad. I had some isolation material on mine that was completely rotted and sticky like used gum. I removed it and cleaned the valve cover. Pic before removal.
![Image]()
You can also see the PCV vale on the corner of the passenger side valve cover. Now would be a great time to check and replace if needed.
Now would also be a good time to give the intake and throttle body a little attention. Using your carb cleaner and a wire brush, clean the deposits from both the intake an the throttle body. Set them aside again and lets return to the plugs.
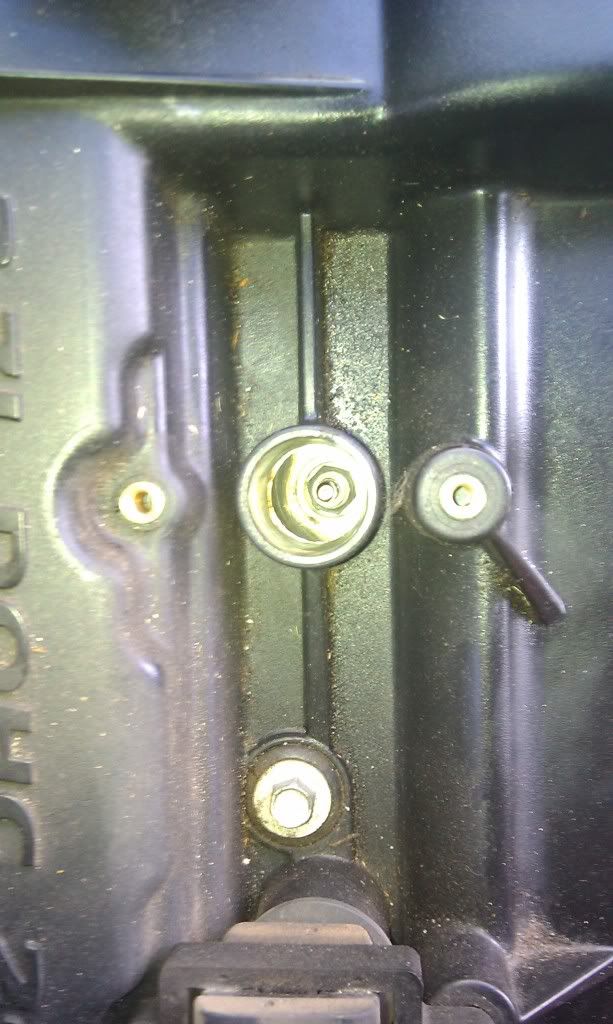
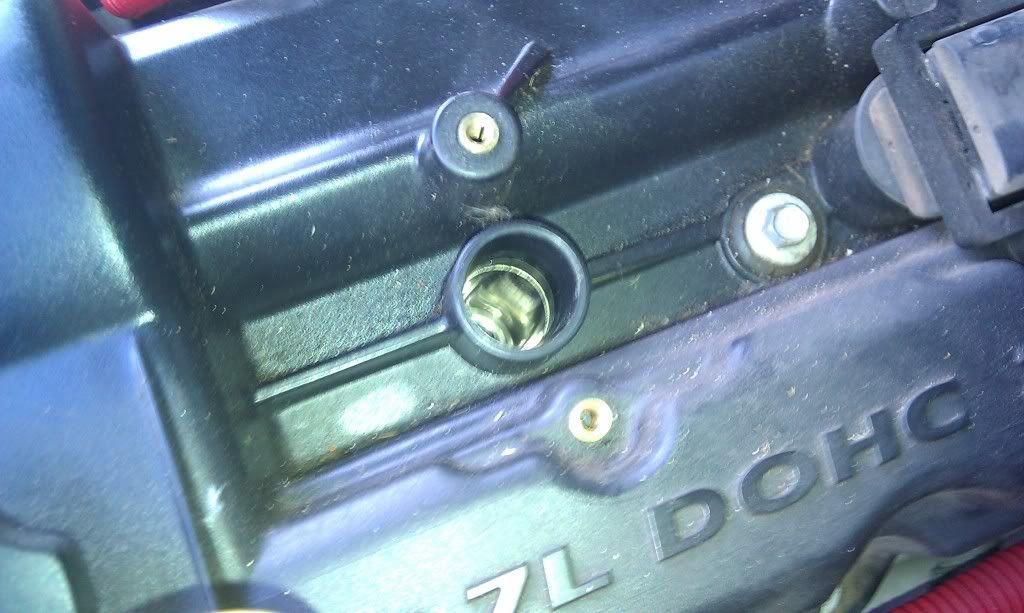
There are 2 bolts (8MM) that hold each coil on top of each plug. Working one at a time, remove the coil and then the plug. It's deep down in there so you will need an extension.
![Image]()
![Image]()
![Image]()
Remember to not over tighten the plug or the coil retaining bolts. Repeat this 5 more times.
Once done remember to change out your intake gaskets to get a proper seal. Install everything in the reverse order, take care to put the large metal tube in BEFORE bolting the intake down, this will make it a LOT easier. It's the one you had to pry out of the back of the intake, mine bent on removal and was a PAIN to get back in but it is in. It was easier than I hoped for and took less time than expected. Results may vary on time.
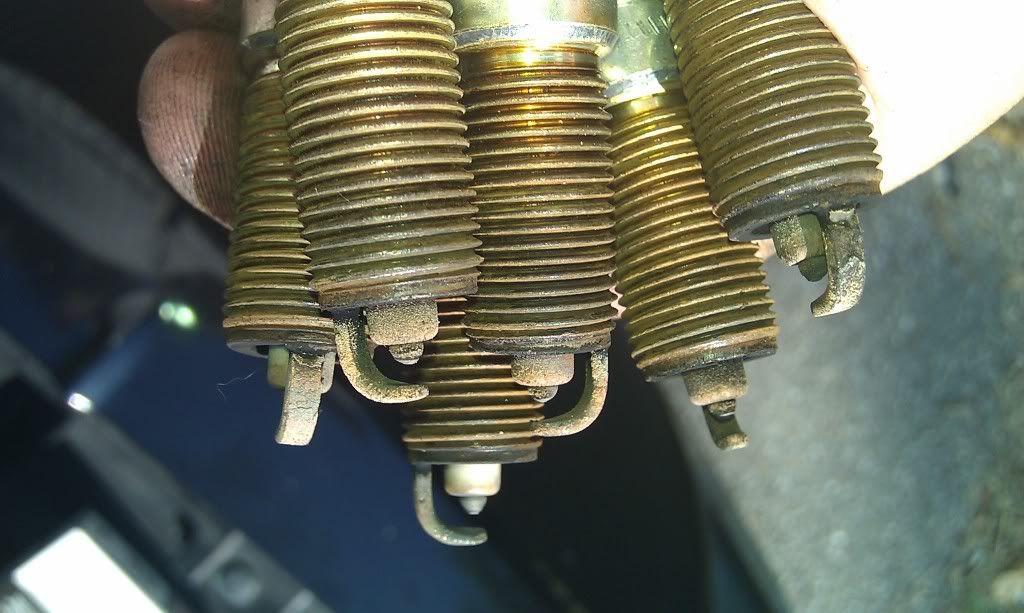
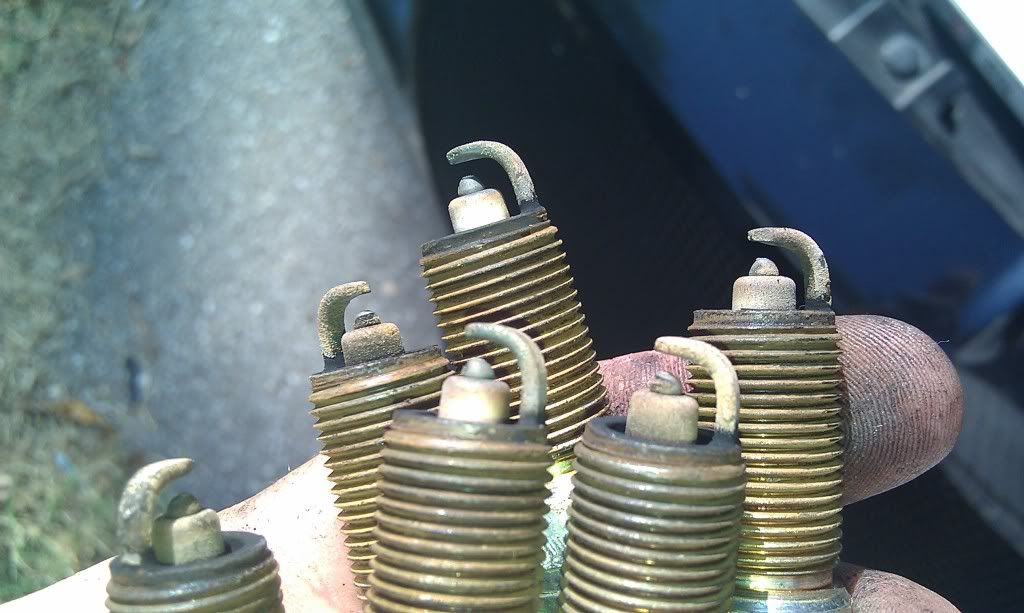
My plugs were showing a bit of wear and some carbon build up but I think they would have been fine for at least 20k more miles. I have 91k on the motor.
![Image]()
![Image]()
After thought: After the plugs and cleaning TB and intake, throttle response is crisper and acceleration is better. Car seems to be running better over all and I wasn't as frustrated as I have been on some cars I've done. (Ex Wifes 85 Camaro is one that comes to mind, multiple extensions and Ujoints to get to plugs)
Hope this helps fellow 2.7 V6 guys...
LIST OF TOOLS:
10 MM Wrench and Socket
8 MM Socket
13 MM Wrench
5/8 Inch Spark Plug Socket
Various extensions
Various Screw drivers
Prybars (optional)
Rags
Wire Brush
Carb Cleaner
And of Course 6 Platinum Spark Plugs
Intake Gasket set
Optional PCV valve
TIME: Approx. 2 Hours (at least this is how long I took with discovery and all)
DIFFICULTY: Scale of 1-10 = 6 to 7
I'm giving this a 7 as it's more involved than just turning a wrench to change a plug (Difficulty 2-3) as you have many parts to remove, lines to pull, and several wiring plugs to disconnect. I don't want to scare anyone but it is not for a novice to attempt.
First things first, pull the intake tubing, filter etc and set them aside. Then remove your 3G firewall cover (you do have a 3G firewall cover don't you?) as it will block the intake as well as the 3 lines you have to remove from the back.
There are 4 bolts (10MM) holding the throttle body on as well as 2 electrical connections. Remove them at this time. On the back of the intake, near the firewall, there is the line that leads to the brake booster. It might take some wiggling but it will come off, next to it is another vacuum line, it came off rather easy. Next is the hard one. It took a little prying to get it out but just work with it. It should have a rubber gasket as well. You will also see on the top of the intake, the vacuum line that leads to the PCV valve, remove it at this time from the intake.
There are 7 bolts on the top of the intake (10MM):
You don't have to pull them all the way out, once loose you can lift them up and give them a turn with your fingers and they will hold themselves in the intake.
Now on to the side near the power dist. block. There are two nuts here that you need to remove from the rods that hold the side of the intake (10MM). Down at the bottom you will need to loosen the 2 bolts holding the lower part of the rod but not remove them (13MM).
Now there is an electrical connection at the front on the passenger side that needs to be unplugged.

At the rear of the intake there is a clip on the transmission tube, the tube pops loose easily. Now work the intake out carefully, you will have to turn it to the left and tilt it a little to get it past the transmission tube. Take your time and be careful.
Once the intake is out set it aside and grab your rags. Place them over the intake runners in the heads that are now visible. (NOTE: where the red gaskets are visible in the middle) This will prevent anything from falling down into the cylinders, which would be VERY bad. I had some isolation material on mine that was completely rotted and sticky like used gum. I removed it and cleaned the valve cover. Pic before removal.
You can also see the PCV vale on the corner of the passenger side valve cover. Now would be a great time to check and replace if needed.
Now would also be a good time to give the intake and throttle body a little attention. Using your carb cleaner and a wire brush, clean the deposits from both the intake an the throttle body. Set them aside again and lets return to the plugs.
There are 2 bolts (8MM) that hold each coil on top of each plug. Working one at a time, remove the coil and then the plug. It's deep down in there so you will need an extension.
Remember to not over tighten the plug or the coil retaining bolts. Repeat this 5 more times.
Once done remember to change out your intake gaskets to get a proper seal. Install everything in the reverse order, take care to put the large metal tube in BEFORE bolting the intake down, this will make it a LOT easier. It's the one you had to pry out of the back of the intake, mine bent on removal and was a PAIN to get back in but it is in. It was easier than I hoped for and took less time than expected. Results may vary on time.
My plugs were showing a bit of wear and some carbon build up but I think they would have been fine for at least 20k more miles. I have 91k on the motor.
After thought: After the plugs and cleaning TB and intake, throttle response is crisper and acceleration is better. Car seems to be running better over all and I wasn't as frustrated as I have been on some cars I've done. (Ex Wifes 85 Camaro is one that comes to mind, multiple extensions and Ujoints to get to plugs)
Hope this helps fellow 2.7 V6 guys...
")